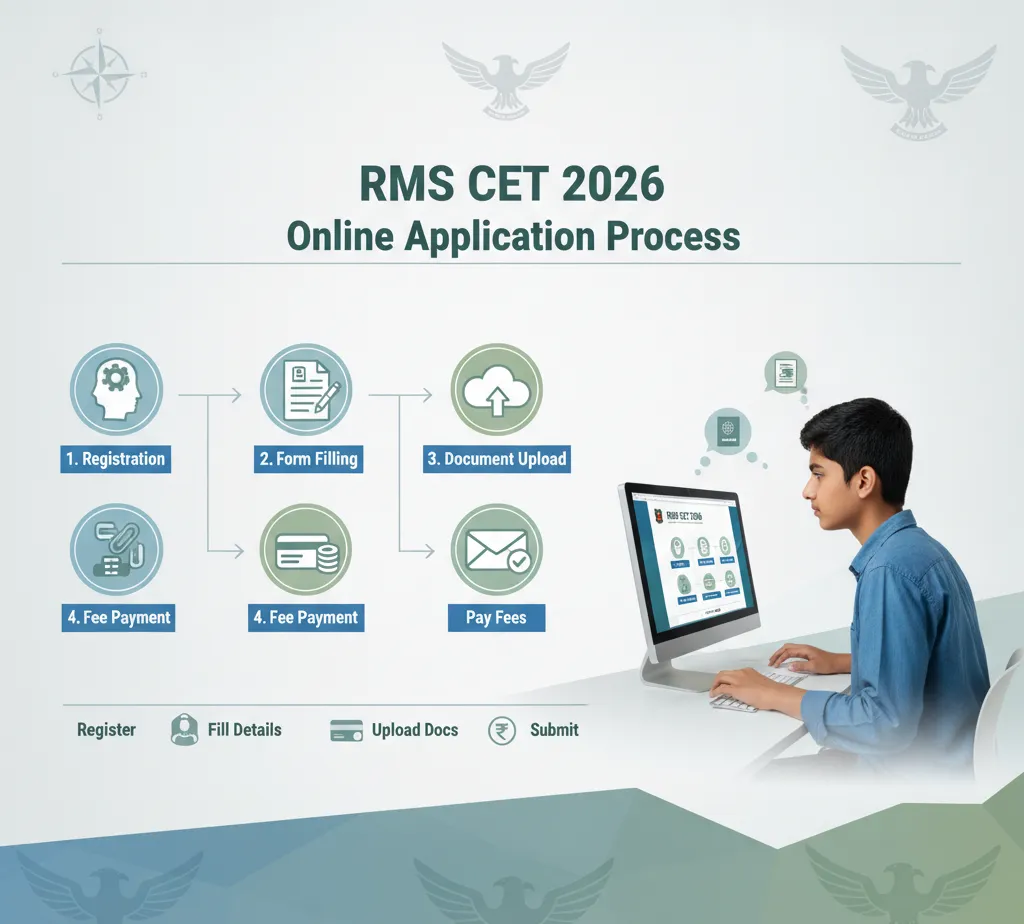
How to Fill RMS CET 2026 Application Form Online — Step by Step
The RMS CET ↗ form looks longer than it actually is. Most parents panic when they see it. But if you follow the steps slowly, it takes maybe 30 minutes. So let's break it down into bite-sized pieces.
Before you start — gather documents
Get everything ready before you sit down. You'll need the birth certificate, current marksheet, parent ID (Aadhar/passport), domicile certificate, a photo with plain background, and the child's signature scanned.
Photo and signature must be JPG, under 50KB each. A blurry photo gets rejected, so rescan if needed.

Step 1: Go to the official website
Open rashtriyamilitaryschools.edu.in in your browser. On the homepage, look for a section called "CET Corner." It's usually easy to spot. Click on it. You'll see a link that says something like "RMS Application Form 2026-27" or "New Registration." Click there.
A new page opens. You'll see a "New User Registration" button. This is where you start.
Step 2: Create your login account
The system asks for an email and mobile number. Use your own email, not a shared one. Why? Because the college will send the admit card and all updates to this email. If you use a cyber café email or share it with someone else, you might miss important messages.
Also, write down your password somewhere. Don't use one you can't remember.
Once you register, log back in. The system sends you a verification link via email. Check your spam folder too — sometimes it lands there by mistake.
Step 3: Fill personal and academic details
Enter your child's name, date of birth, and gender. Be extra careful with the DOB. The system won't let you change it later. A single digit wrong can disqualify the application.
Select class (VI or IX), current school, and exam marks. Round percentages correctly — 450 out of 500 is 90%, not 89.5%.
Step 4: Upload documents
The form asks for specific formats. Birth certificate = PDF, under 300KB. Photo = JPG, under 50KB. Signature = JPG, under 50KB.
Don't upload ZIP, RAR, or Word files. Check that scans are readable. If it looks like a photocopy of a photocopy, rescan.
Step 5: Fill communication details
Address, phone number, parent name. Keep this exactly as it appears on your ID. Typos here don't disqualify you, but they can cause problems later when the admit card arrives. A door number wrong means the postman can't find you.
Step 6: Preview and check everything
Before paying, the form gives you a "Preview" button. Click it. Read every single line. Check the name spelling, the date of birth, the class chosen. This is your last chance to catch mistakes before payment.
If something's wrong, go back and fix it. The system will let you edit before you pay.
Step 7: Pay the application fee
For general category, it's ₹550. For SC/ST, ₹275. You can pay using your debit card, credit card, net banking, or UPI. The payment gateway is secure.
After payment, the system shows you a transaction receipt. Screenshot or print this. You'll need it later.

Step 8: Download and save confirmation
After payment, you get a confirmation page with an application number. Download it as a PDF. Print it. Keep both the digital and paper copies safe. You need this confirmation when you download your admit card later.
A few things parents get wrong
Don't use a shared email. Don't scan documents at weird angles. Don't round percentages down — 89.9% should be submitted as 89.9, not 89. Don't miss the deadline because you "lost" the form link. Bookmark the site.
The whole process is rigid, but it's that way for a reason — to keep things fair and organised. Follow the steps, stay calm, and you'll get through it.